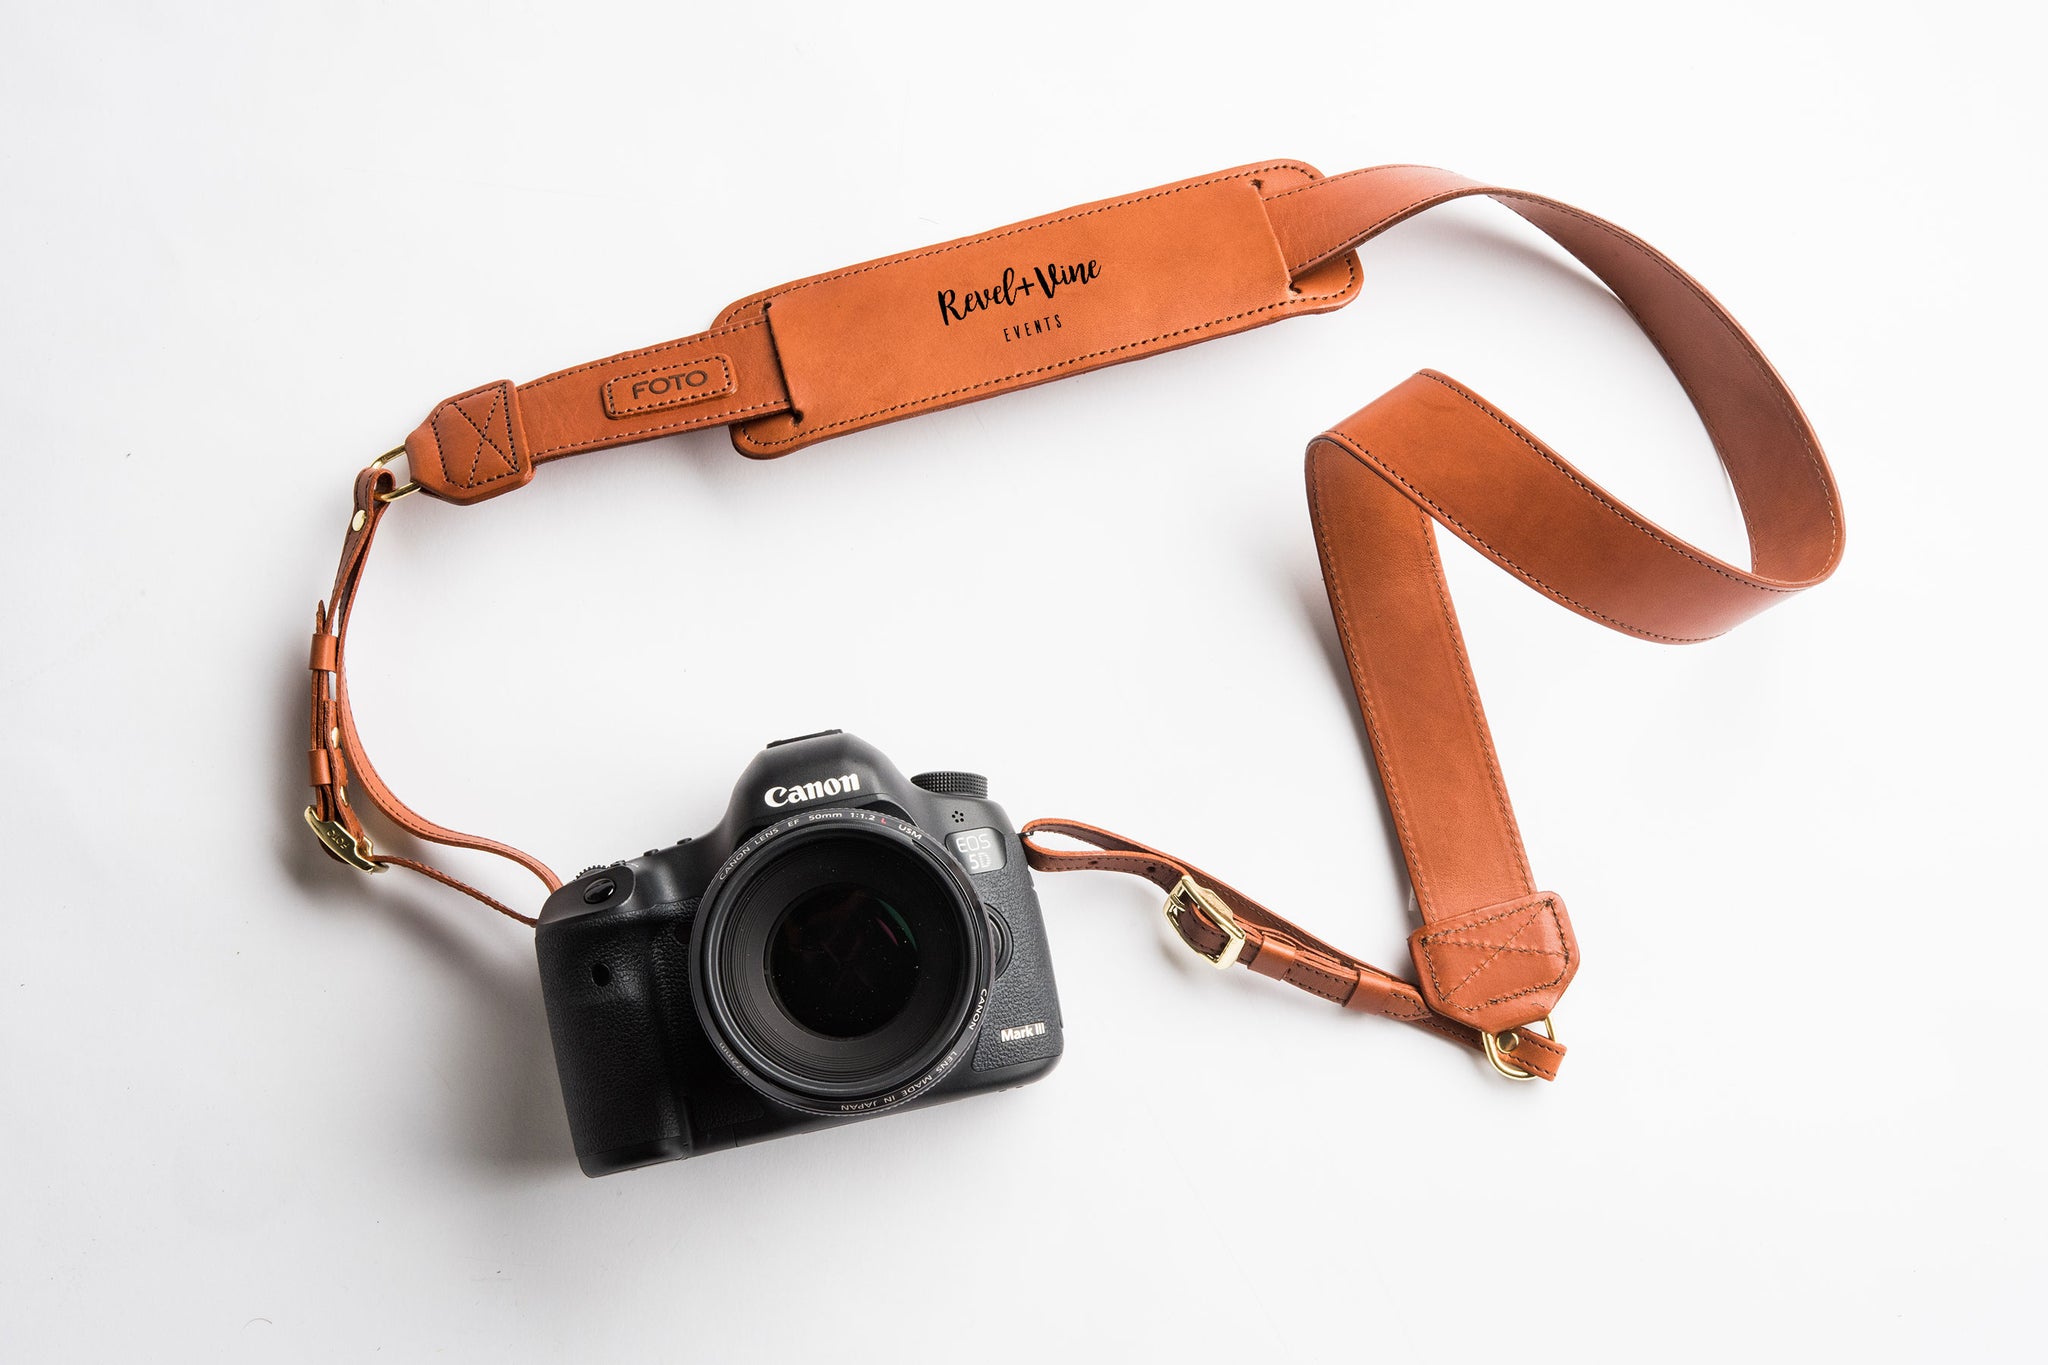
Our most popular personalization feature is the ability to use your own design file and business logos on the shoulder pad of your fotostrap, the cover of your journal and on the front of your luggage tags. We understand branding is everything when it comes to running a personal photography business or blog and we want to set our customers up with the best camera and lifestyle accessories out there for personal and brand marketing.
As the only camera strap company that offers this promotion ability, we want to make sure we are giving our customers all the tools they need to make this personalization option available. Not every new business owner has the resources to hire a designer to create a logo, or the confidence to create one themselves, but we believe adding a personal business logo to our products is a smart business move and want to share with you a few tips and creative options to empower you to create your own personal graphic to put on your FOTO product and use in your business.
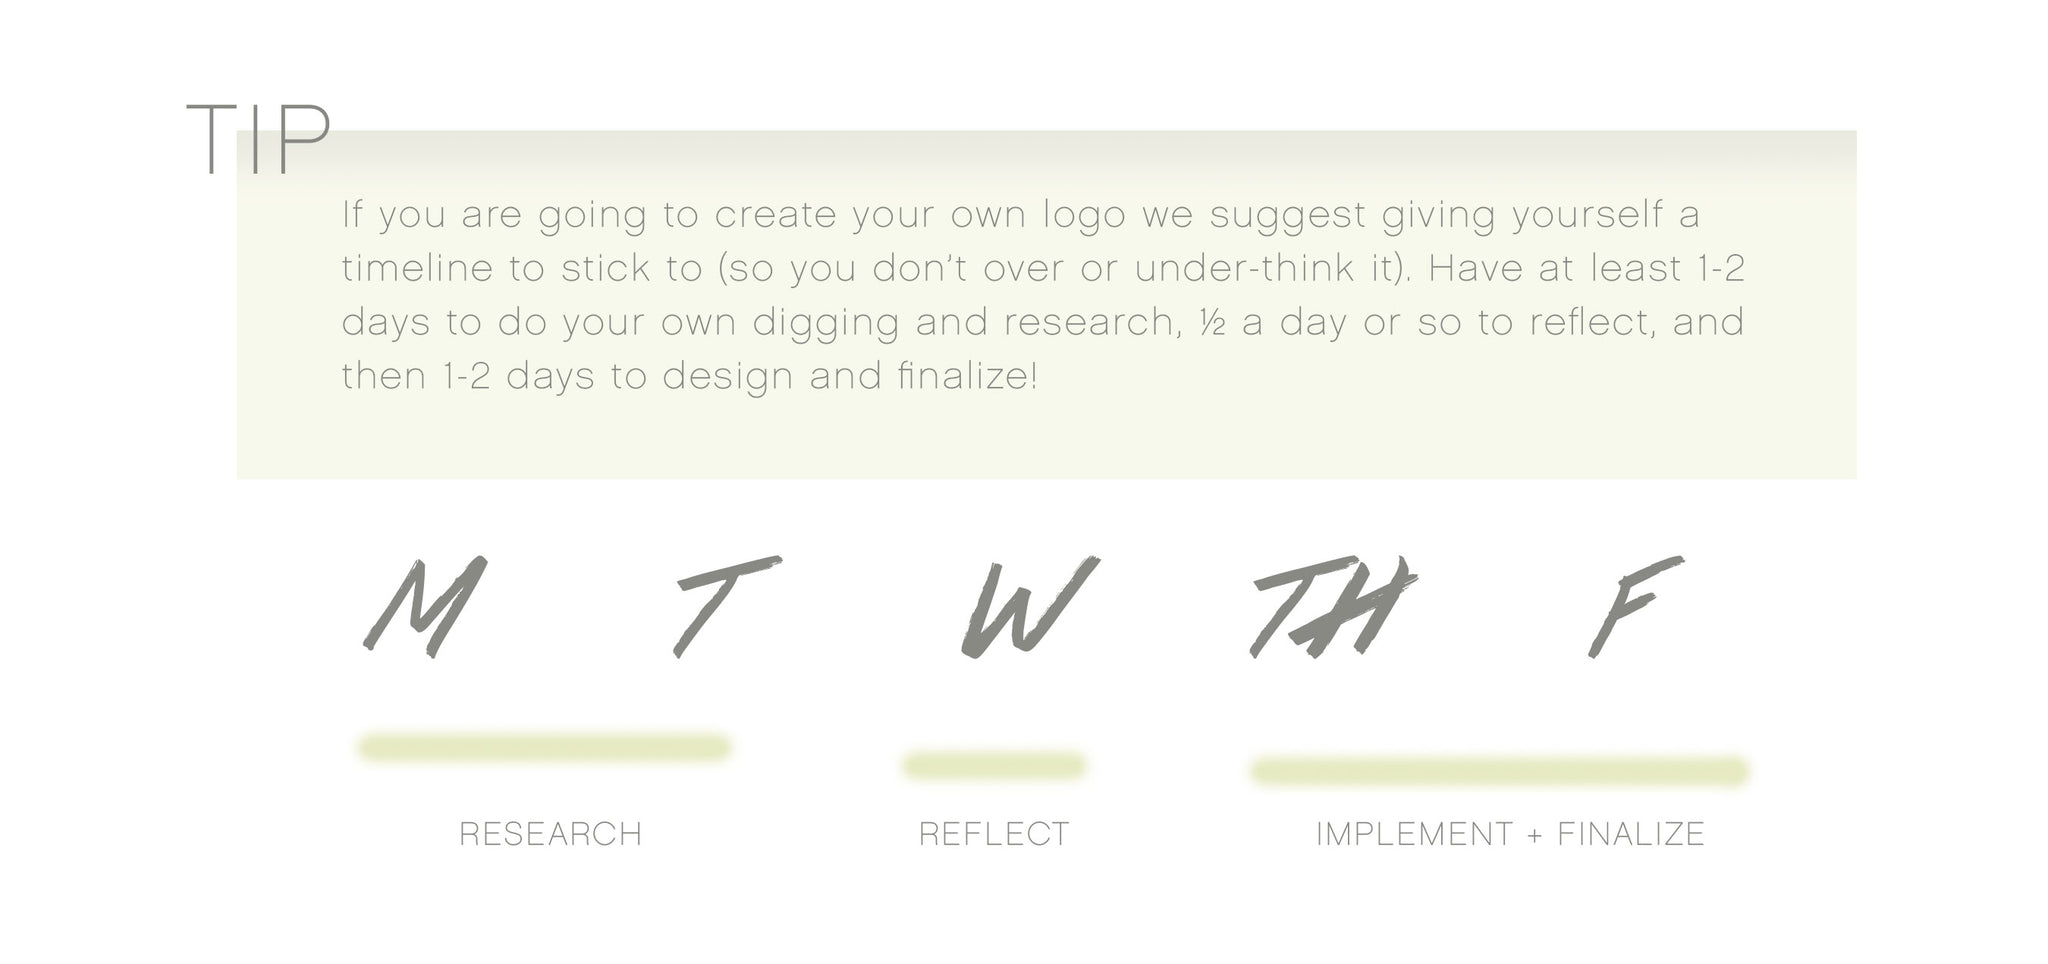
1. Research + Reflect
Business and personal branding is a task you should take very seriously. Your logo is a representation of who you are and what your business is about; it should be something that resonates with your target audience and possess a certain flair that matches your business’ energy and mission.

The process should be fun and eye-opening, it should give you time to really reflect on the vision and principles behind your business, how you want to set yourself apart from your competitors and help you hone in on a clear identity for your brand that can be applied cohesively across all kinds of business materials.
Research
- search for like-minded industries and people in your same line of work to see what their logos and branding say about them (i.e. Are they modern? Do they look corporate? Do they have a personal feel to them?)
- take notes on what you like (types of fonts, phrasing, spacing, alignment, size relationship, etc.)
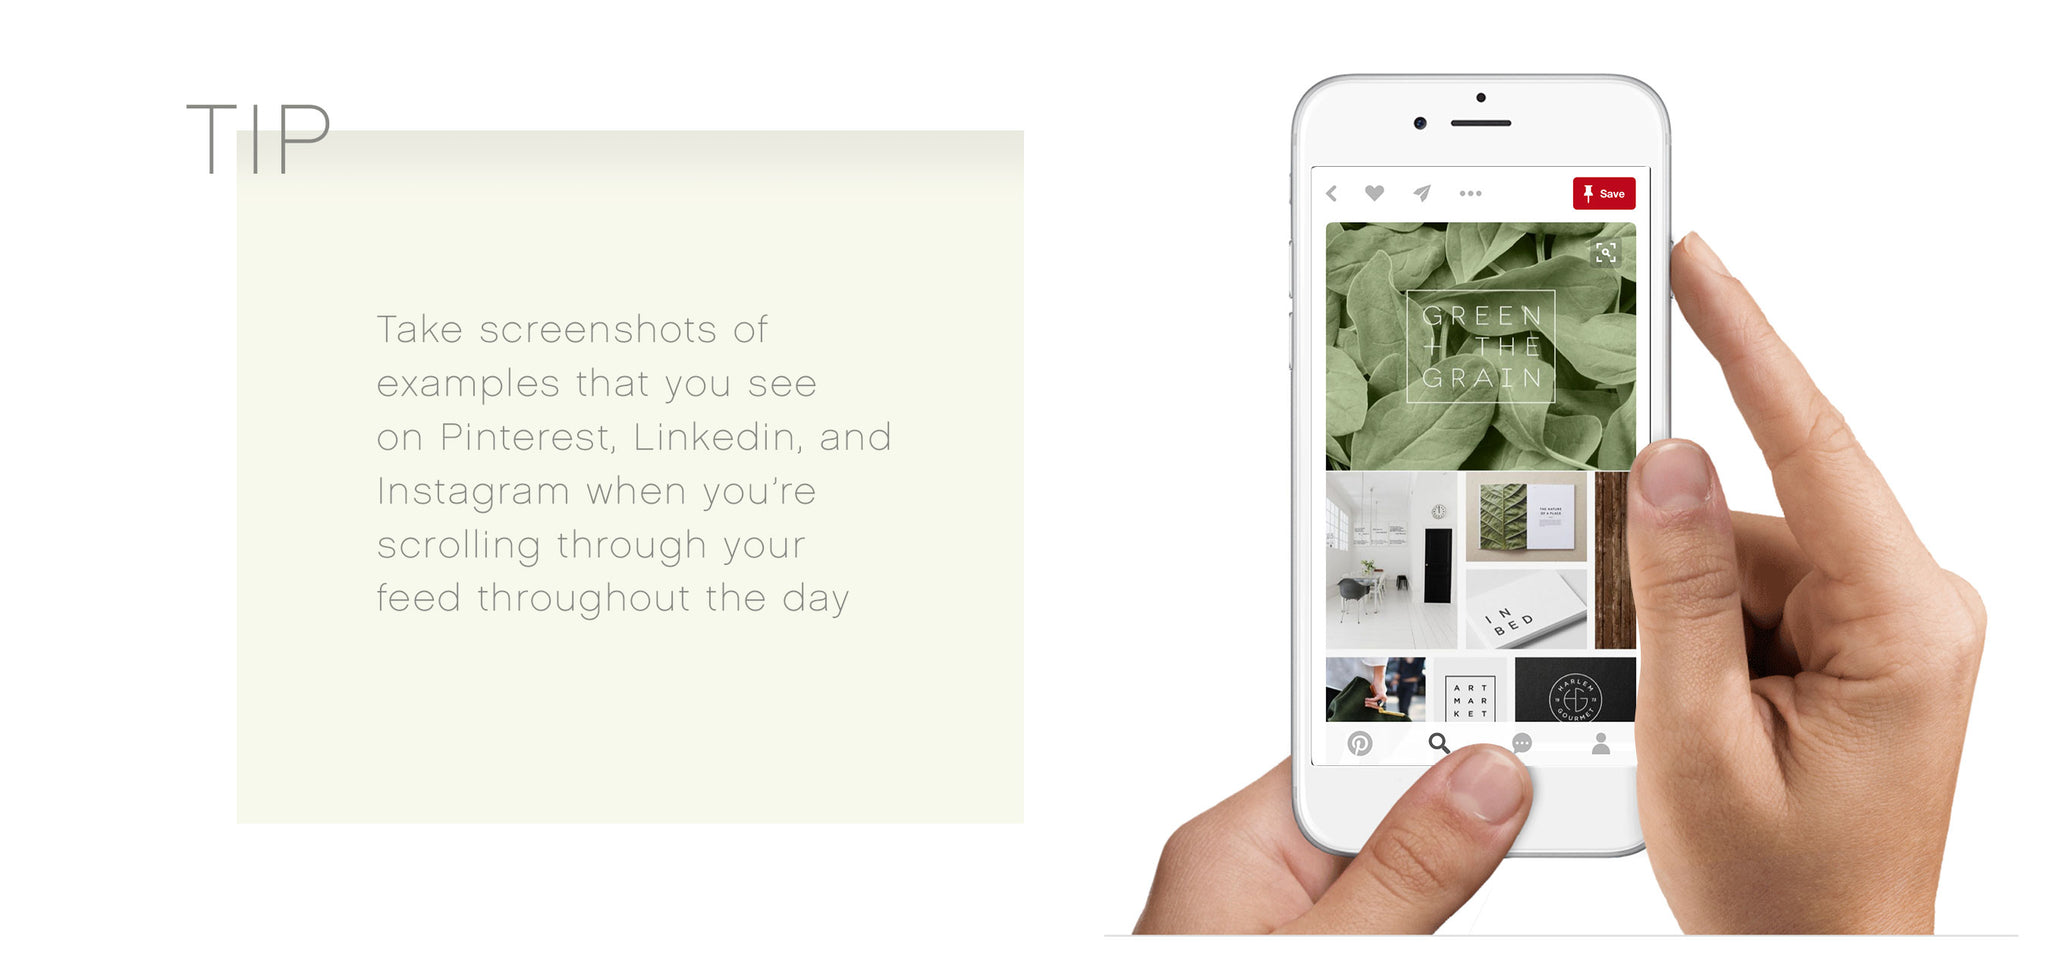
- be really cognizant of logos/branding and take notes and pictures of ideas you like (be aware of billboards, commercials, magazines, websites, newsletters, store windows, book covers, etc.)

Reflect
- gather all your notes and pictures into one document so you can see it all together and easily compare and review what styles you seem to like
- make a list of adjectives and phrases that describe your business or what it offers (i.e. fun, portraits, inspired by Bresson, minimalist, philanthropic, forward thinking, corporate, artistic, etc.)
- compare your list to the examples you researched and circle/highlight the ideas that align with the vibe of your brand
2. Implementation
Now that you’ve got a better idea of what style (and general vibe) you like for your identity design that will represent who you are and what you offer, it’s time to put your creative hat on and implement a design.

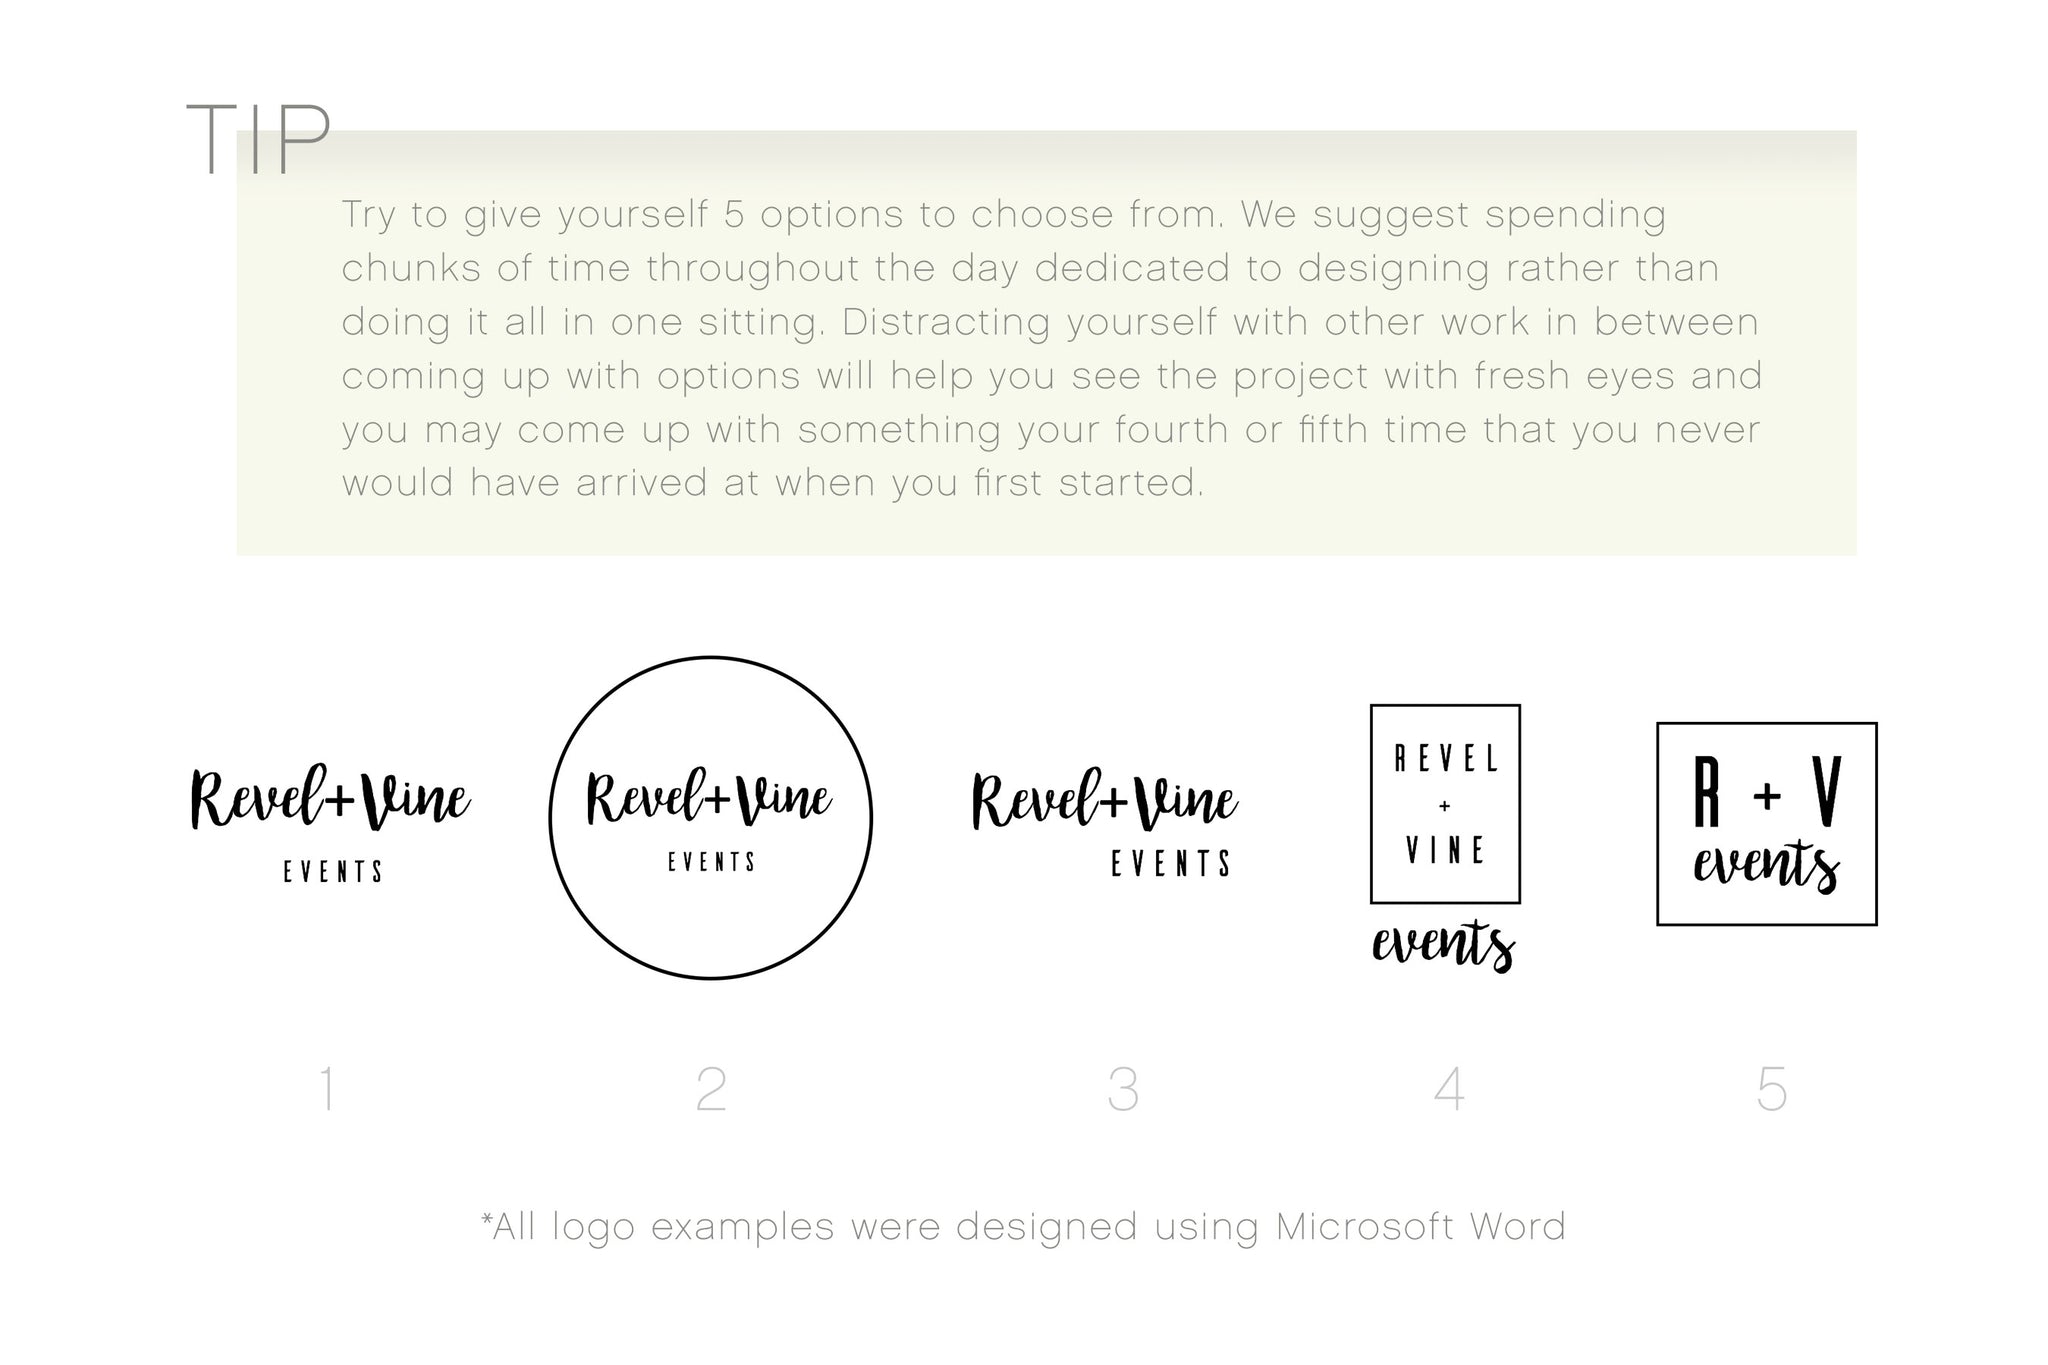
Try these exercises to come up with variations:
- try putting the text on one line or separate lines
- change the font sizes to create different text relationships
- change the font styles to bold, extended or condensed
- switch up the fonts to try different pairings
- add a shape around your text
- use all capitals
- use all lowercase
- add extra space between letters
- try different alignments
*Keep in mind that really small text can be hard to read when applied to something small like a business card and really thin text is hard for printers to produce (including our lasering).
Now, the question remains: what program should you use? Graphic designers would cringe at this suggestion, but simple logos can easily be implemented using Microsoft Word. [Tip: Use text boxes to more easily move around words and achieve the spacing you want] If you have access to and know how to use the Adobe Creative Cloud: Illustrator, InDesign or Photoshop are the more traditional programs used to design logos.
3. Logistics
Once you have designed, chosen and finessed your final logo file, reward yourself with a FOTO purchase featuring your hard work! Design files need to be saved at 300 dpi as black and white jpgs (not grayscale). What does that mean? When you design your logo (even if you will end up using color on other media) create your logo in all black, too. In Word you will have to save your file as a .pdf and use an online converter to produce a .jpg file.
[Tip: If you are using InDesign, click File>Export and choose format .jpg and if you are using Illustrator or Photoshop you can click Save As and change the format to .jpg.]
When you choose your FOTO product(s) you want, click the personalization menu and choose “Design File.” At the end of checkout, you will be asked to upload your high resolution black and white .jpg and all you have to do is upload your design, hit submit and stalk your mailman.
Happy Designing!
*Be sure to be creative and unique. Here is more information on copyright basics for graphic designers if you have any questions
Enjoy this post? Check out our post on The Power of Color in branding and brand awareness. You may also enjoy these resources for running your photography business:
The Do's and Don'ts of Running Your Own Photography Business
Coffee with Creatives: Katie Lamb's Tips on Finding that "Mompreneur" Work/Life Balance
Related: Fotostrap, FOTO, Monogram, #tellyourstory, Small Business, Tips, Personalize
