You've spent hours upon hours in editing mode, tweaking the settings of your digital images and going cross-eyed staring at your screen into all hours of the night. Make your life easier and your editing more streamlined by starting a library of Lightroom presets! To help you get started, here's a quick how-to guide on importing and using these little Lightroom life-savers. And be sure to scroll to the bottom of this post to download 5 of our favorite presets for FREE!
How to Import Lightroom Presets:
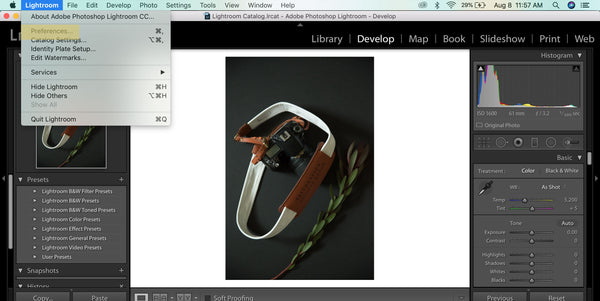
1. Open Lightroom and click Lightroom>Preferences
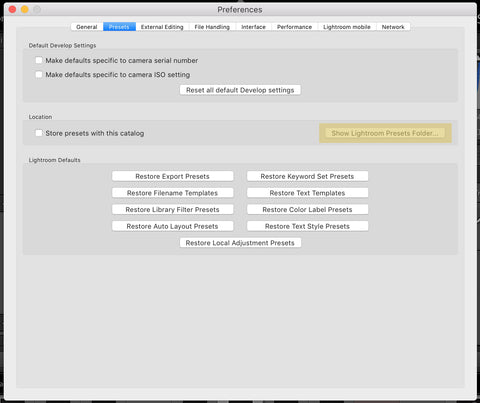
2. Click the Presets tab and click the "Show Lightroom Presets Folder..." button. Your presets folders will appear in Finder. Choose the "Develop Presets" Folder and copy your downloaded (and unzipped) presets into that folder.
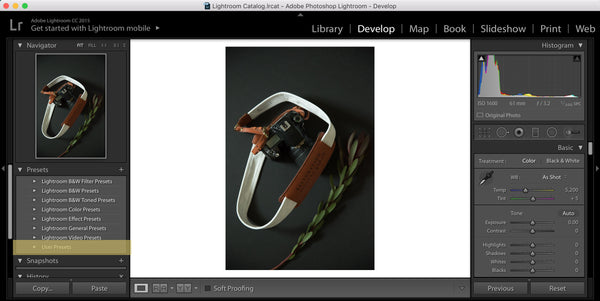
3. Restart Lightroom and you will see your new User Presets on the left sidebar.
How to Use Lightroom Presets:
1. When developing your images, simply choose the preset you want to use from the list of presets on the left sidebar- it's that easy!
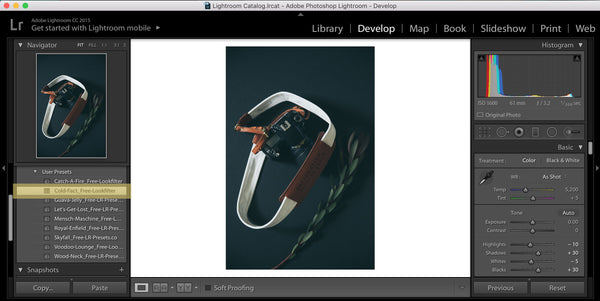
Can you believe how simple that is? We encourage you to shop around for your favorites and curate a personal library of presets that works for your workflow, but to get you started, we've picked out five of our favorites and would love to send them straight to your inbox...
Looking for more photography tips & tricks? Here are some other resources that might interest you:
The Do's and Don'ts of Running Your Own Photography Business
Coffee with Creatives: Katie Lamb's Tips on Finding that "Mompreneur" Work/Life Balance
7 Ways to Leave Lasting Impressions on Shoot that Lead to Returning (and New) Clients!
